
Getting good photos of your work. Here is a great tutorial from Bryer Patch Studios. Check it out here.
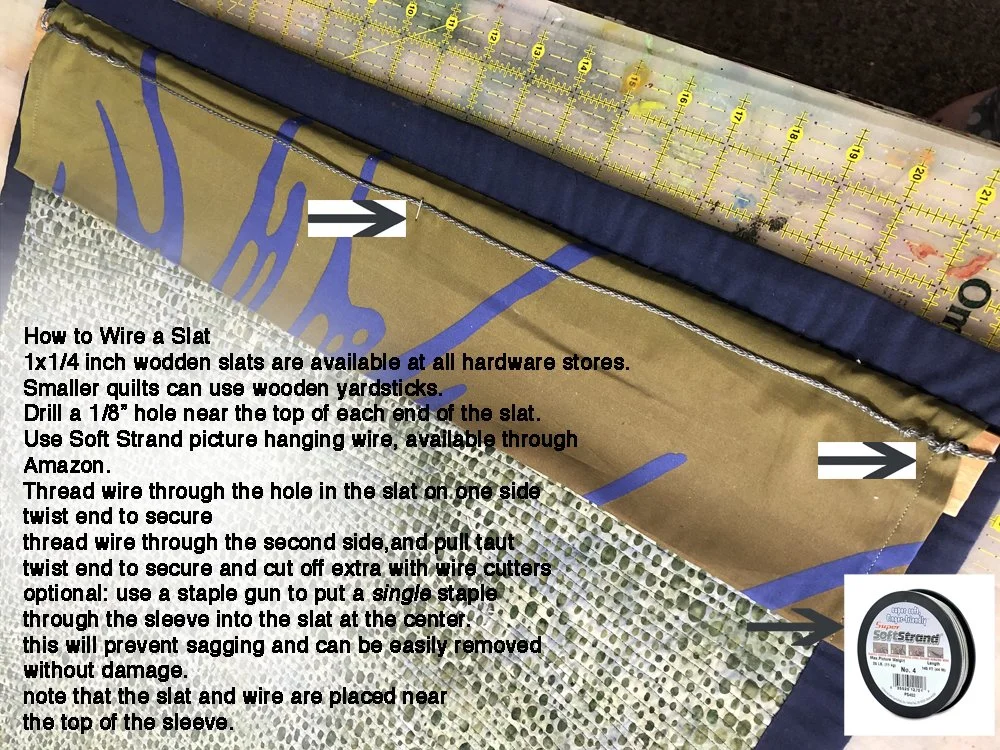
Preparing your work for exhibition from Bryer Patch Studios, Check out the video here.
Tips on how to write an artist statement.
If you would like to provide a professional tip to add please contact us at info@abqfiberartscouncil.org